Let’s start with a brief introduction of Splash Screen:- 😄
- In the context of mobile apps, splash screens are often used to display a static image while the rest of the app loads in the background. Splash screens are sometimes used to display a more detailed animation or video while the application is loading. The purpose of a splash screen is to create a positive first impression for the user and to set the tone for the rest of the application.
- I am assuming that you have all the steps already taken to implement React Native Splash Screen for Android including the creation of files like background_splash.xml & launch_screen.xml
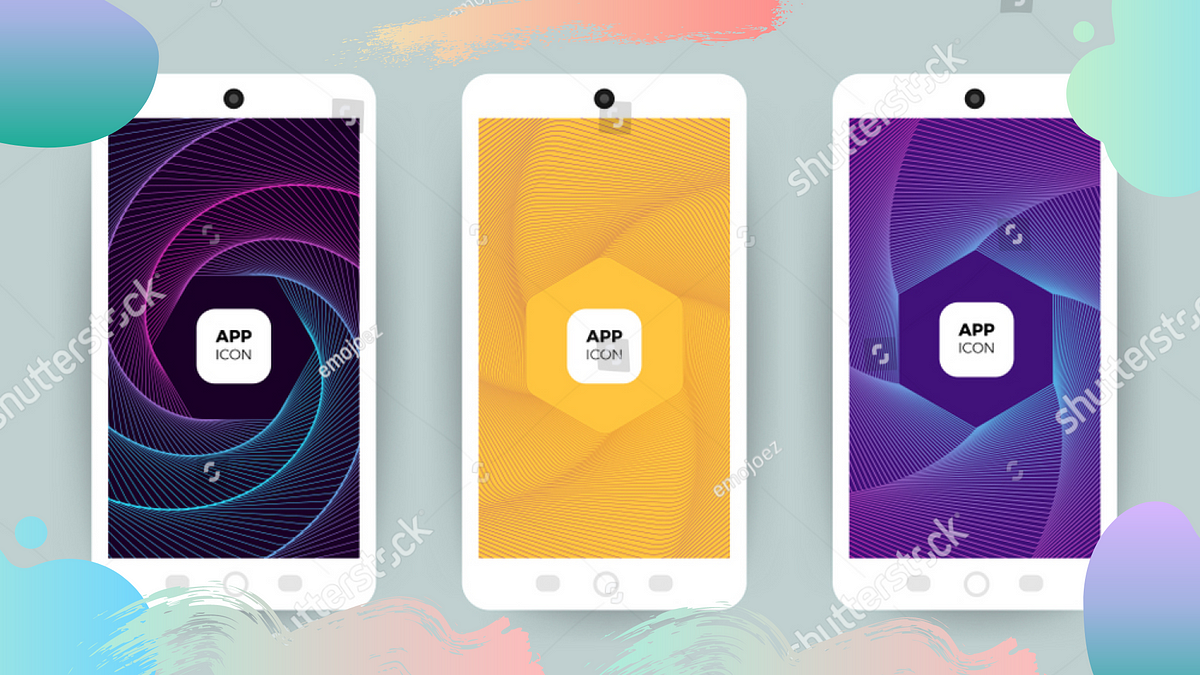
- So, now let’s assume we need a Splash Screen with a custom background image and an app icon that should appear on our custom background image.
- Android Studio 💻 is now going to help us out with this multi-component Splash Screen.
- Firstly, open your project with the Android Studio and search for a file named as launch_screen.xml

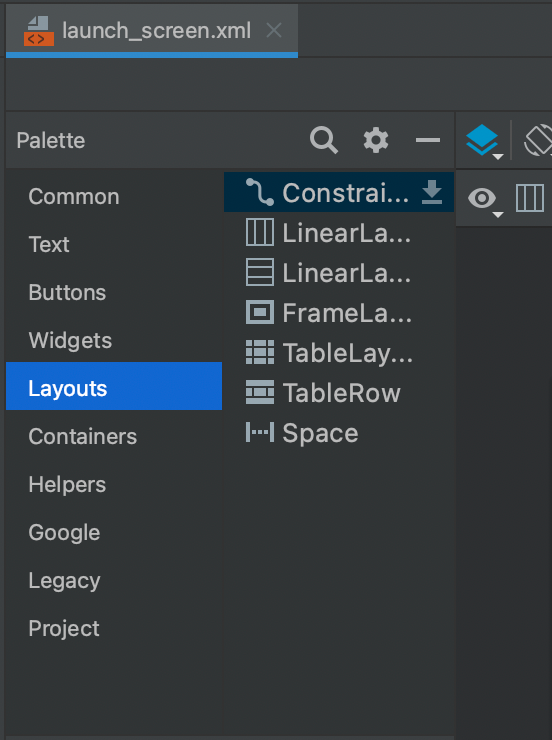
- Now select the Layouts from the Palette list, it will display a list of layouts that we can use to construct our required design.
- Primarily we use Linear Layout Vertical (1st option) OR Linear Layout Horizontal (2nd Option), but for our case, if we choose any linear layout option, the splash is going to display our components in horizontal or vertical order, and that’s not the right step in our case 🤔. We need to display the 2nd component over the 1st component (like a stack).
- So, we are going to select the 3rd Option i.e. Frame Layout.
- As the name & icon suggest 😎 , this will display each of our components one over the other.
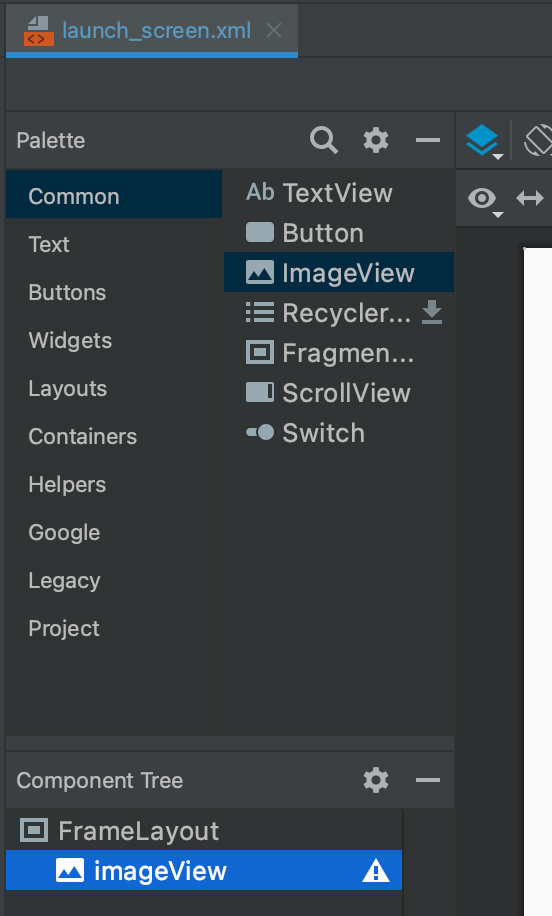
- Moving forward, after selecting the Frame Layout, add the type of view you want, in our case, we need an Image View for the app icon.

- After selecting the Image View, our structure is ready. Now we just have to add our custom background image to the Frame Layout background property & the app icon to the Image View source.
- Finally, resize and reposition your images/icons as per the requirement, similarly, we can add many layers/components to this Frame Layout by iterating these steps.
Thanks for giving it a read 🤗. Please don’t forget to provide your suggestions/feedback.
Happy Coding! 😃
