
What is Mixpanel?
Mixpanel is a business analytics service that helps companies track and analyse user interactions with their web and mobile applications. It provides real-time data on user behaviour and can be used to measure and improve the effectiveness of marketing campaigns, understand user churn, and identify potential issues with the user experience.
Why use Mixpanel?
Mixpanel can help companies understand how users interact with their products, identify trends and patterns in user behaviour, and make informed decisions about product development and marketing efforts. It provides a comprehensive view of user behaviour, allowing companies to optimise their products and drive engagement and retention.
It also offers a variety of features such as A/B testing, event tracking, and user segmentation to help businesses make data-driven decisions about their products and services.
Setting up Mixpanel in React Native
Step 1: Setting up an account
Sign up for a Mixpanel account and create a new project by filling in all the required fields.
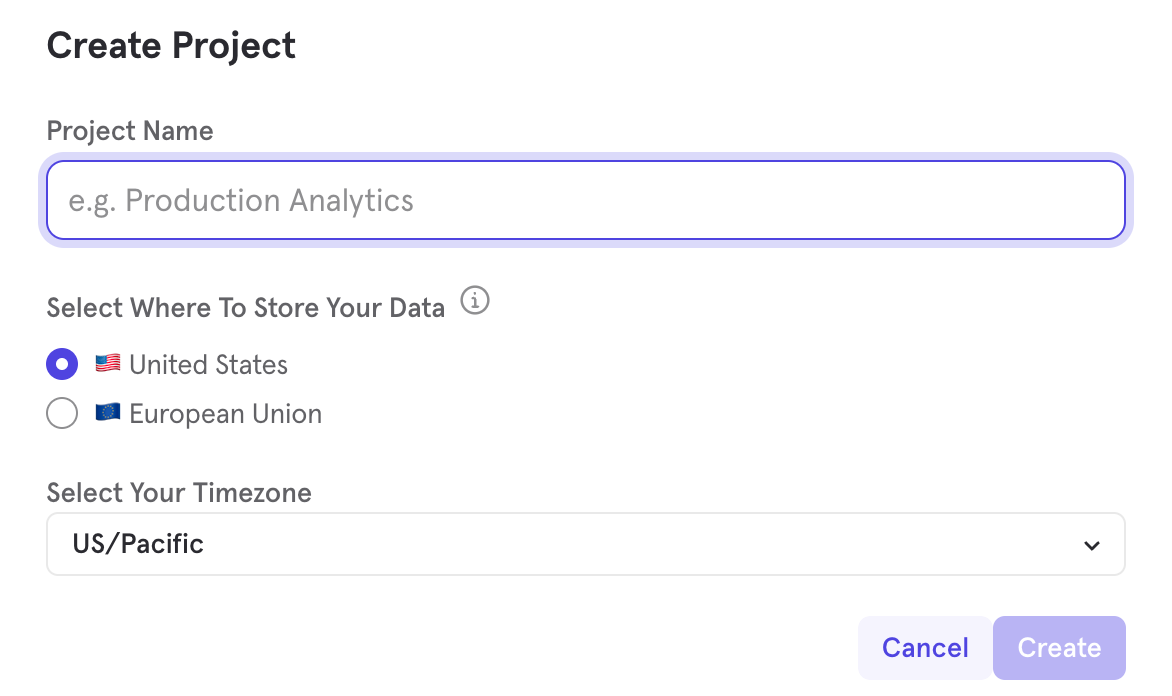
After creating a project you can now access the project settings menu and get the “Project Token” from there. Keep this token handy as this will be used later.
Step 2: Library installation and initial code setup
Install the Mixpanel SDK in your React Native project by running the below command in your terminal.
[React-Native] npm install mixpanel-react-native [React-Native]For iOS, in your app’s ios folder, run pod install
[React-Native] pod install [React-Native]To use the Mixpanel service, import the Mixpanel library in your app and then initialise by adding the following code to your app’s entry point. Remember the “Project Token” from step 1? This will now be used to initialise your Mixpanel integration.
[React-Native] import { Mixpanel } from ‘mixpanel-react-native’; const trackAutomaticEvents = true; const mixpanel = new Mixpanel(“YOUR_MIXPANEL_TOKEN”, trackAutomaticEvents); mixpanel.init(); [React-Native]Once the above initialisation is completed, you can access Mixpanel in your application from anywhere.
To track events you’ll have to call the ‘track’ method which has two parameters. The first one being a mandatory parameter called ‘eventName’ and the second being an optional parameter called ‘properties’ for adding in more information from the app about the user activity, for example:
[React-Native] // To track the event such as a button press. mixpanel.track(‘Some button pressed’); // To track the event with more information about the user. mixpanel.track(‘Login button pressed’, {‘User’: ‘free_user’}); [React-Native]Usage example: You can call the above method in your button’s onPress prop so that the event can be logged on the press of a button.
Step 3: Find the data sent to Mixpanel
- Select the project you want to view events for from the dropdown menu in the top right corner.
- This will open a real-time stream of events being tracked in your project. You can use the filters at the top of the page to view specific events or event properties.
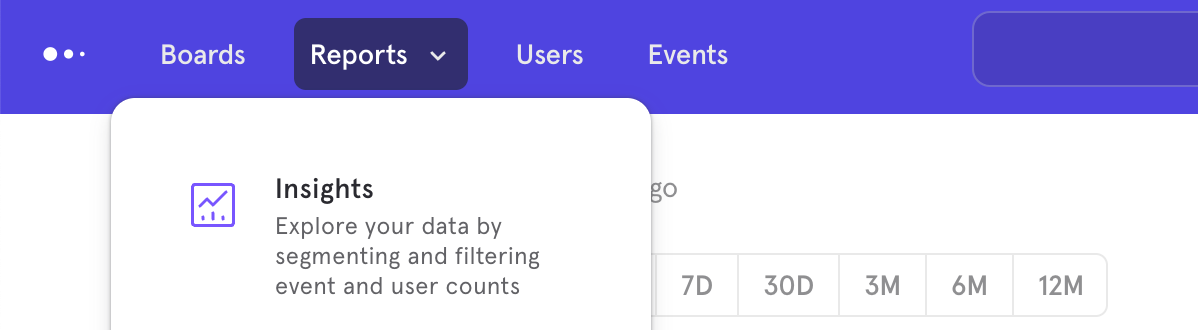
Alternatively, you can also view events in Mixpanel by using the Reports dropdown including the feature of “Insights” tool. The Insights tool provides pre-built reports and analysis of your event data as per your applied filters.
A heads up!
You might be not be able to view the events of your recent app interaction immediately as there is some delay in processing and displaying the data. Mixpanel updates the events list in 60 seconds but if you want to view the event immediately you can use the following method:
[React-Native] mixpanel.flush() [React-Native]Hope this helps for an easy and quick setup in your app!