Setup multiple flavors in React Native for android applications


This tutorial is about creating multiple versions of a React Native app for Android, which are referred to as “build types.” 

These different versions of the app may have minimal differences, such as changes in themes and app icons, or may be for different stages of the product, such as development, quality assurance, or production. 

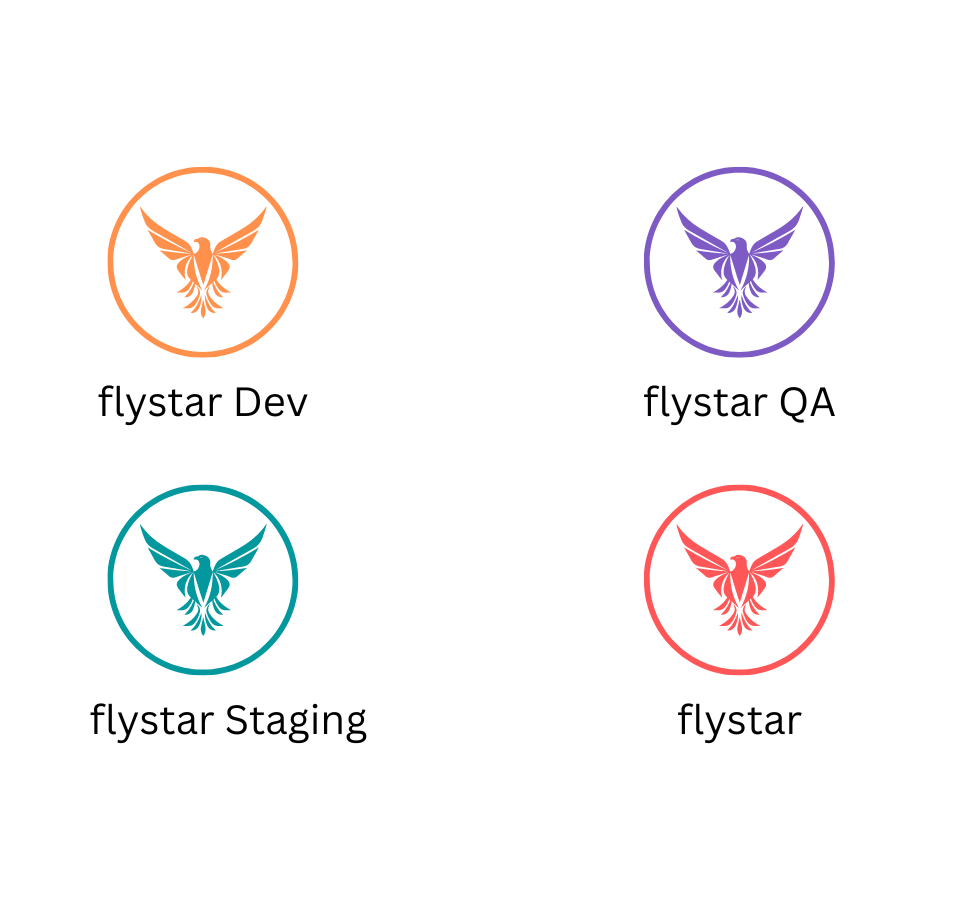
The goal is to be able to install three different applications with the same source code and different display names (e.g. Dev, QA, Staging, Prod) on the same device.

To begin, the first step is to create a React Native project using the React Native CLI. 

React-Native Development

Steps to add Product Flavors

  • Open the android/app/build.gradle file in your project.
  • Add the following line of code to apply plugin:
[Android] apply plugin: “com.android.application” apply from: project(‘:react-native-config’).projectDir.getPath() + “/dotenv.gradle” // <- insert this line of code [Android]
  • Now, create a new section namely productFlavors and specify flavor-specific configuration options.
  • Use a different applicationId for each flavor so that all flavors can be installed on the same device.
  • Remember to include the flavorDimensions “default” line to avoid build errors.
[Android] android{ … // insert this block of code flavorDimensions “default” productFlavors { dev { dimension “default” minSdkVersion rootProject.ext.minSdkVersion applicationId ‘com.flystar.dev’ targetSdkVersion rootProject.ext.targetSdkVersion resValue “string”, “build_config_package”, “com.flystar” } qa { dimension “default” minSdkVersion rootProject.ext.minSdkVersion applicationId ‘com.flystar.qa’ targetSdkVersion rootProject.ext.targetSdkVersion resValue “string”, “build_config_package”, “com.flystar” } staging { dimension “default” minSdkVersion rootProject.ext.minSdkVersion applicationId ‘com.flystar.staging’ targetSdkVersion rootProject.ext.targetSdkVersion resValue “string”, “build_config_package”, “com.flystar” } prod { dimension “default” minSdkVersion rootProject.ext.minSdkVersion applicationId ‘com.flystar’ targetSdkVersion rootProject.ext.targetSdkVersion resValue “string”, “build_config_package”, “com.flystar” } } // — } [Android]

Create Different app names for each build variants

  • Duplicate the android/app/main folder and rename the folder name to match the names of the flavors (e.g. dev, qa, staging, prod). These copies will contain flavor-specific code and resources.
  • Delete the java folder in each of the flavor folders.
  • Open the strings.xml file located in the res/values folder for the relevant build variant (e.g. android/app/src/dev/res/values/strings.xml) and rename the app_name.

android/app/src/dev/res/values/strings.xml

[Xml] flystar dev [Xml]

Note that the contents of this file will be merged with the strings.xml file in the main folder, rather than replacing it.

Create Different app Icons for each build variants

  • To change the app icons, add them to the appropriate mipmap folder located in the res folder for the relevant build variant (e.g. android/app/src/dev/res) for the build variant (e.g. dev, qa, staging, prod).
Product Flavors

Additional Requirements for setting up Product Flavors

  • Install the package react-native-config .

// yarn

[Command Line] yarn add react-native-config [Command Line]

// npm

[Command Line] npm install react-native-config –save [Command Line]
  • create .env file containing ENV variable along with required environment specific variables.

ENV=dev

  • Add scripts to the package.json file.
[React-Native] { … “scripts”: { … // insert these lines of code “android-dev-release”: “react-native run-android –variant=devRelease”, “android-dev”: “react-native run-android –variant=devDebug”, “android-qa-release”: “react-native run-android –variant=qaRelease”, “android-qa”: “react-native run-android –variant=qaDebug”, “android-staging-release”: “react-native run-android –variant=stagingRelease”, “android-staging”: “react-native run-android –variant=stagingDebug”, “android-prod-release”: “react-native run-android –variant=prodRelease”, “android-prod”: “react-native run-android –variant=prodDebug” // — }, … } [React-Native]

After adding Product Flavors to your app, it will no longer be possible to build a version without a flavor.


Latest

SENTRY integration in your React Native App for Error/Crash tracking

Sentry captures data by using an SDK within your...

Recall the concepts of useCallback.

useCallback hook is one of the best hooks offered...

Value of Comments in the code!!

During my journey of Software Development, I am always...

YOLO:Bullet Paced Algorithm

http://sh017.hostgator.tempwebhost.net/media/33949d0e61af4b50f374c534713f56b3 According to world health organization, more than 1.35 million...

Featured

Developing Enterprise Application in Node.js – CJS Vs ESM

Node.js is a popular runtime environment for building server-side...

Integrating your web react applications with their React Native(android and IOS) apps using QR code

Integrating a web application with Android and iOS apps...

YOLO: Bullet Paced Algorithm – popular choice for object detection in autonomous vehicles 

According to world health organization, more than 1.35 million...

Deep Linking with Firebase-Dynamic Links in React Native

Deep linking improves user engagement and provides a better user experience In today's era where everything is connected and we share links more often than...

Cashfree SDK integration in React Native App

Hello Everyone In this article we will learn how to integrate Cashfree payments SDK in React Native Application. The React Native Cashfree SDK  Cashfree provides a dedicated...

What is a Pure Component?

Imagine you are building a toy car out of Legos. The toy car has different parts, like wheels, a body, and a steering wheel....

LEAVE A REPLY

Please enter your comment!
Please enter your name here